|
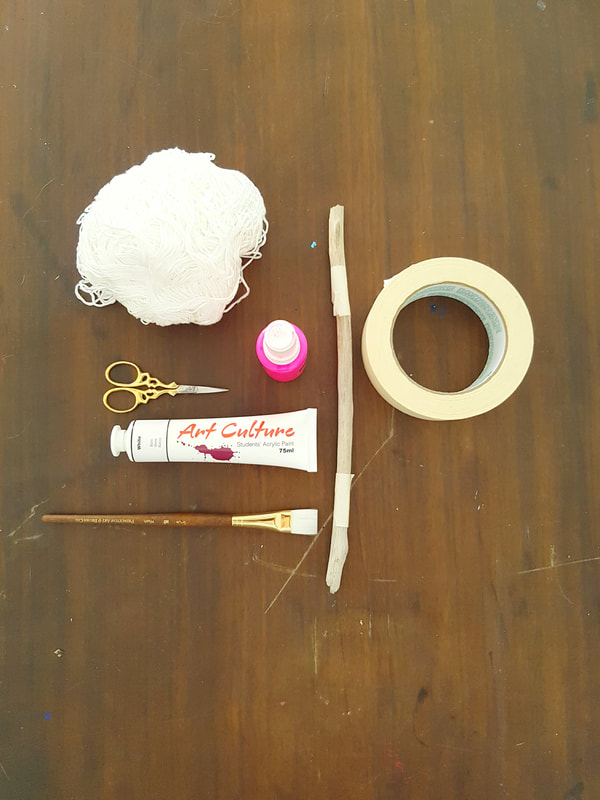
A Simple DIY Wall Hanging What you'll need:
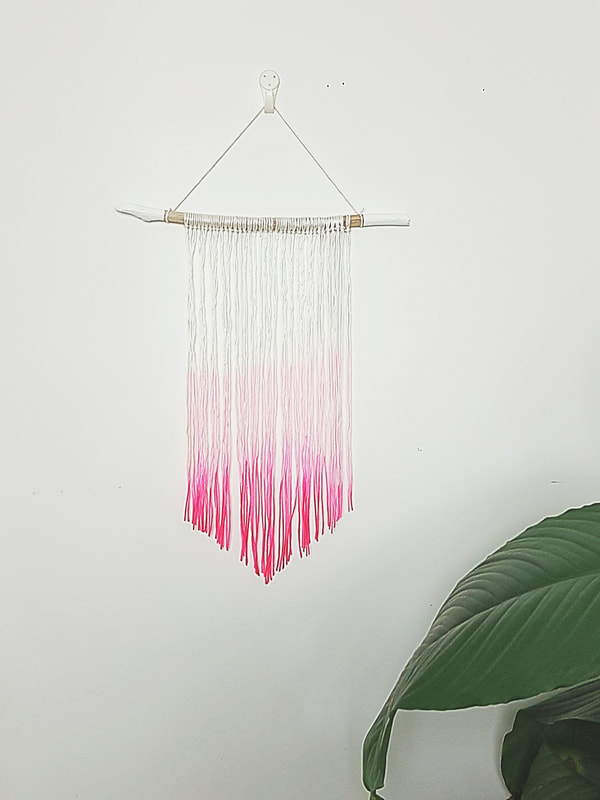
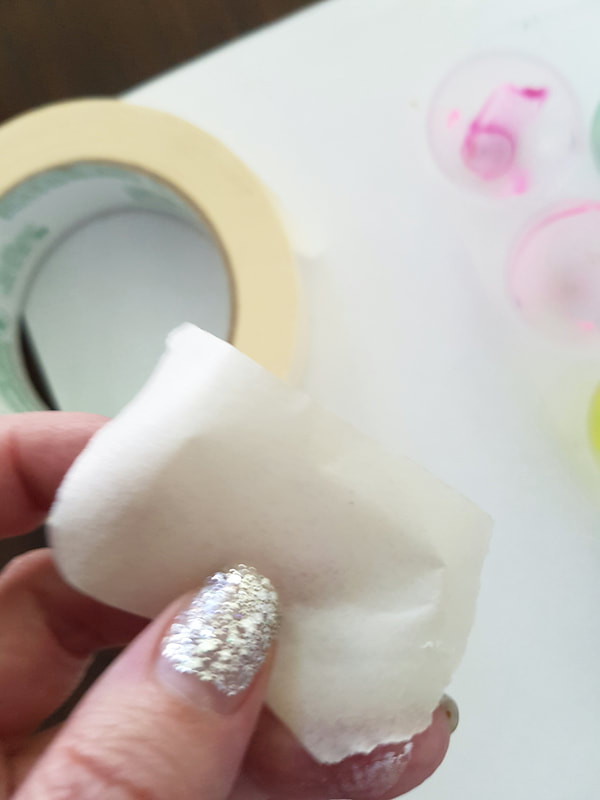
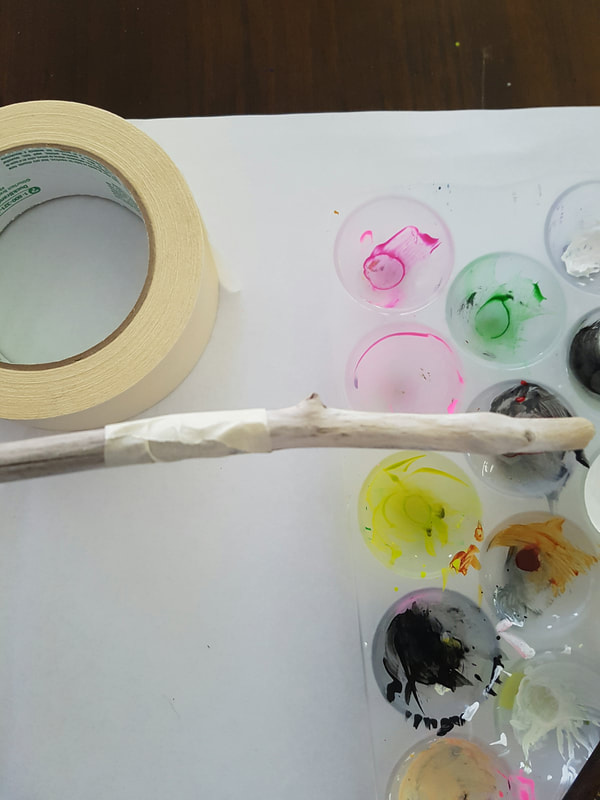
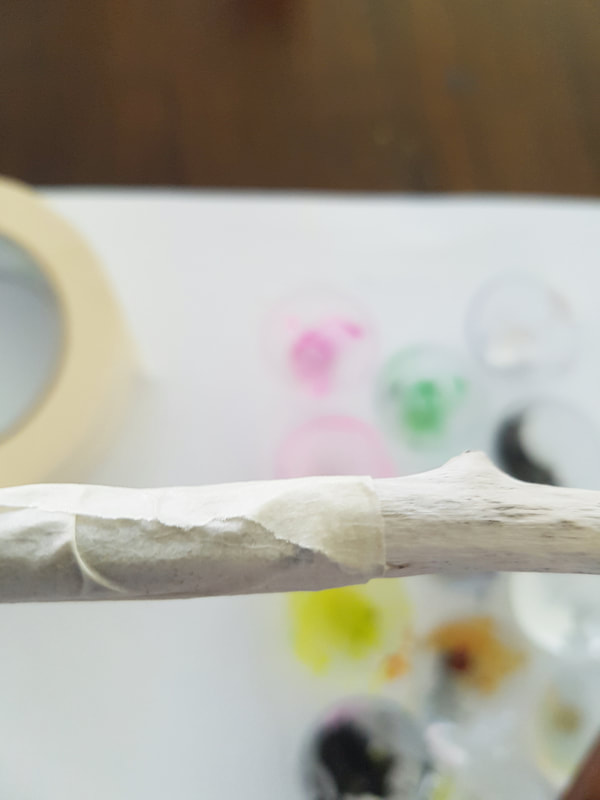
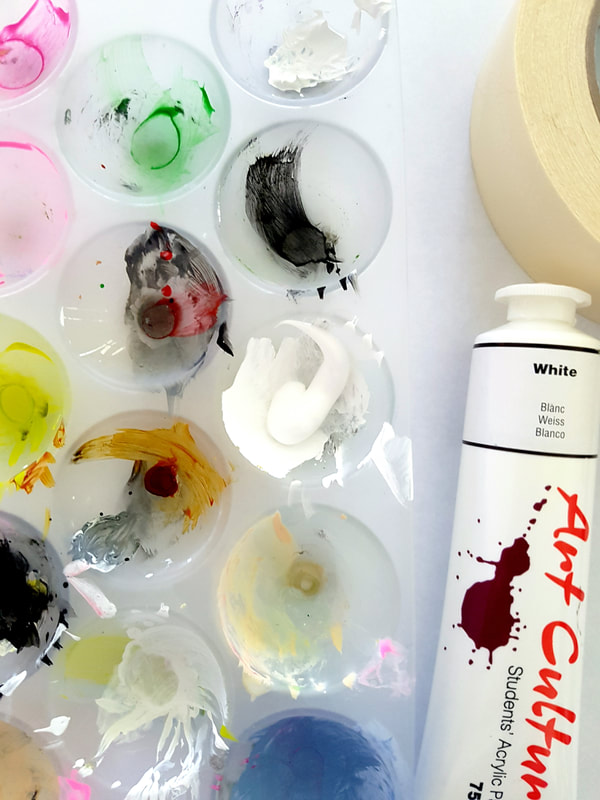
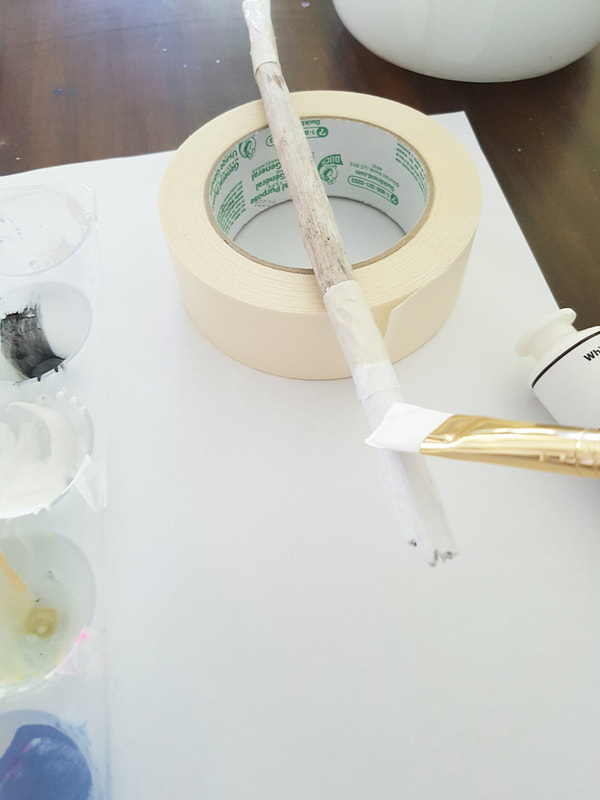
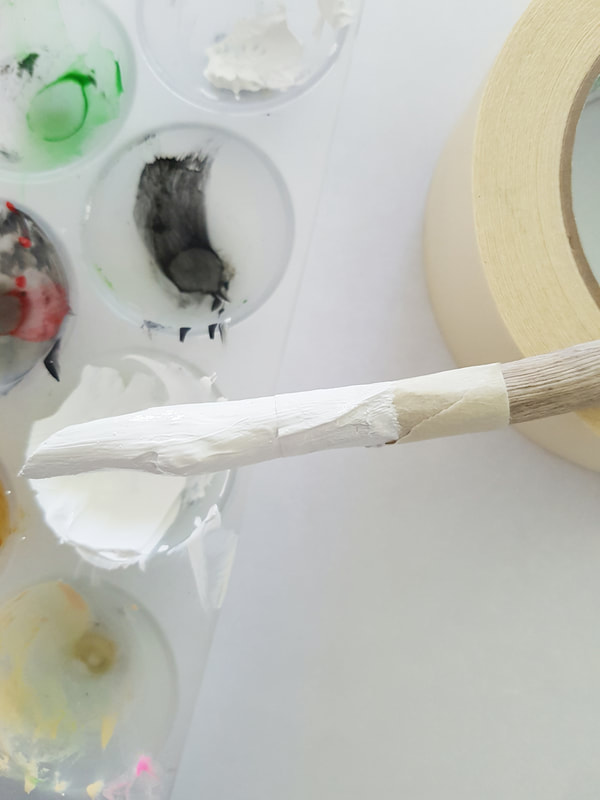
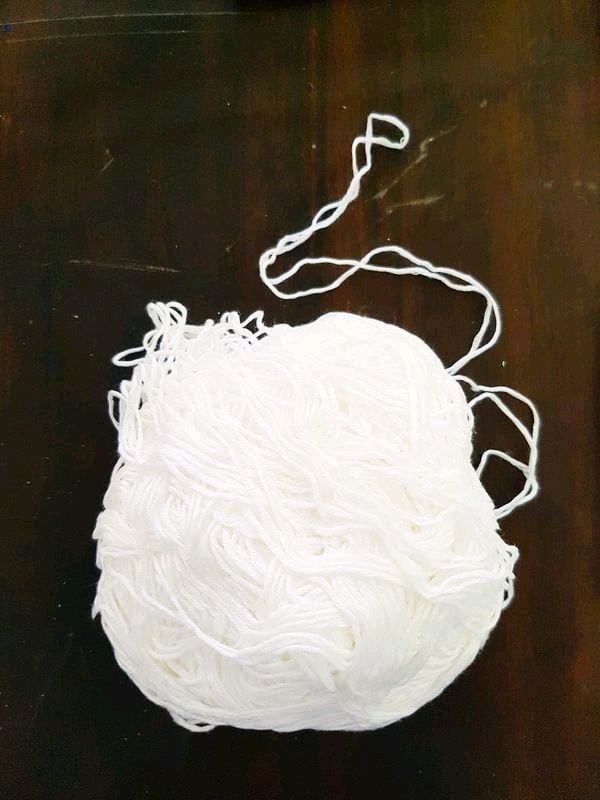
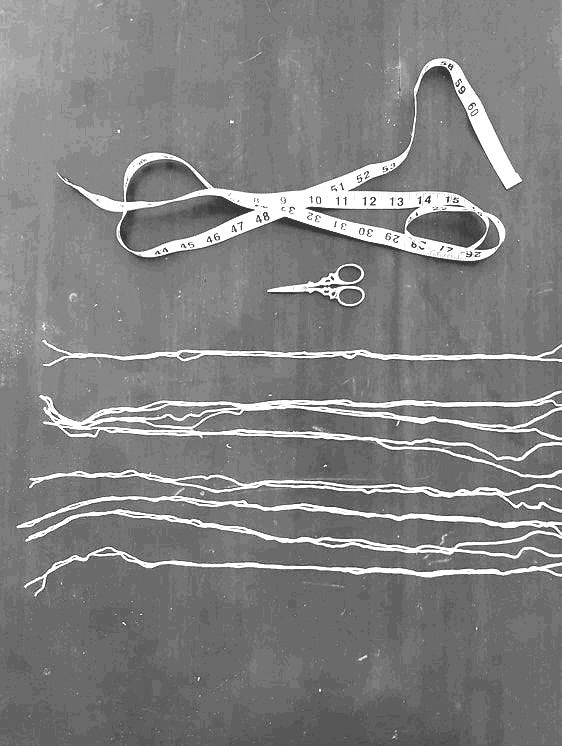
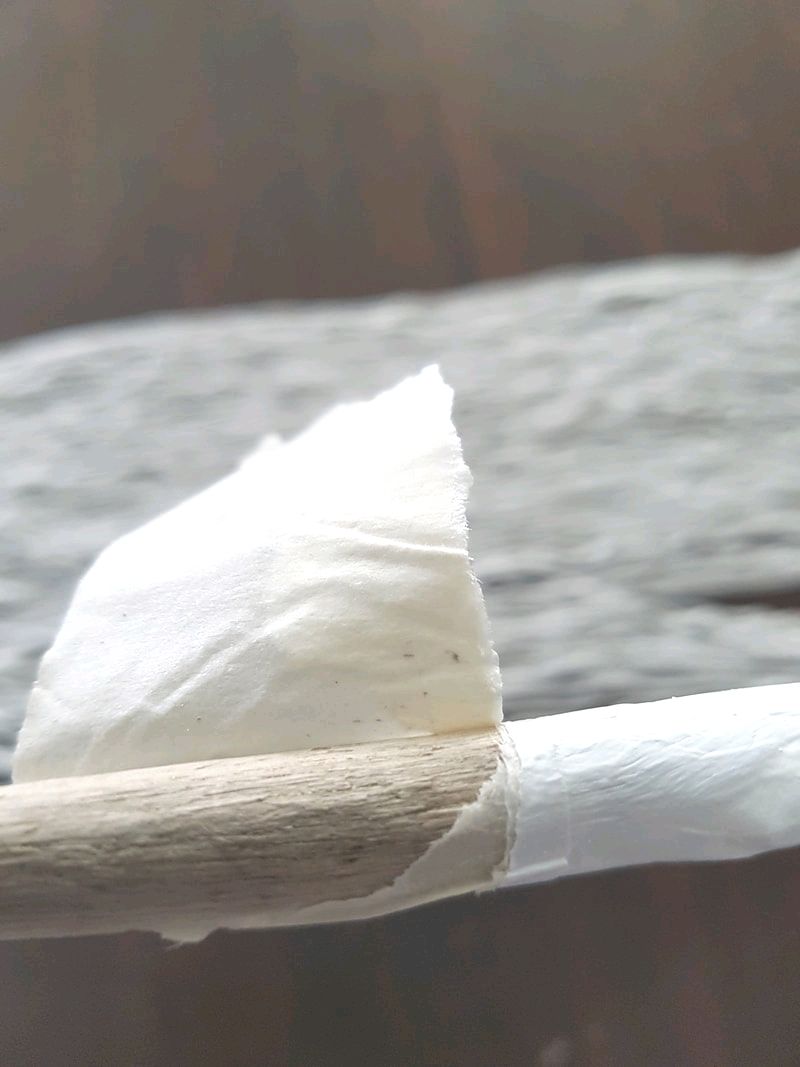
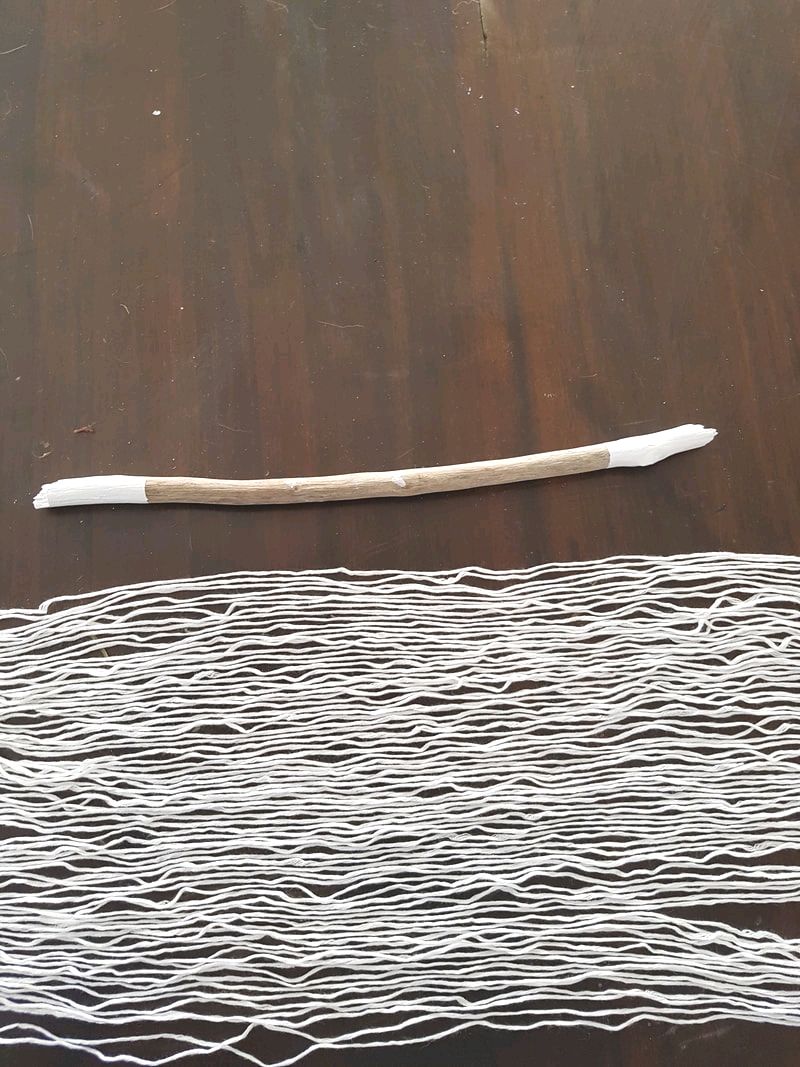
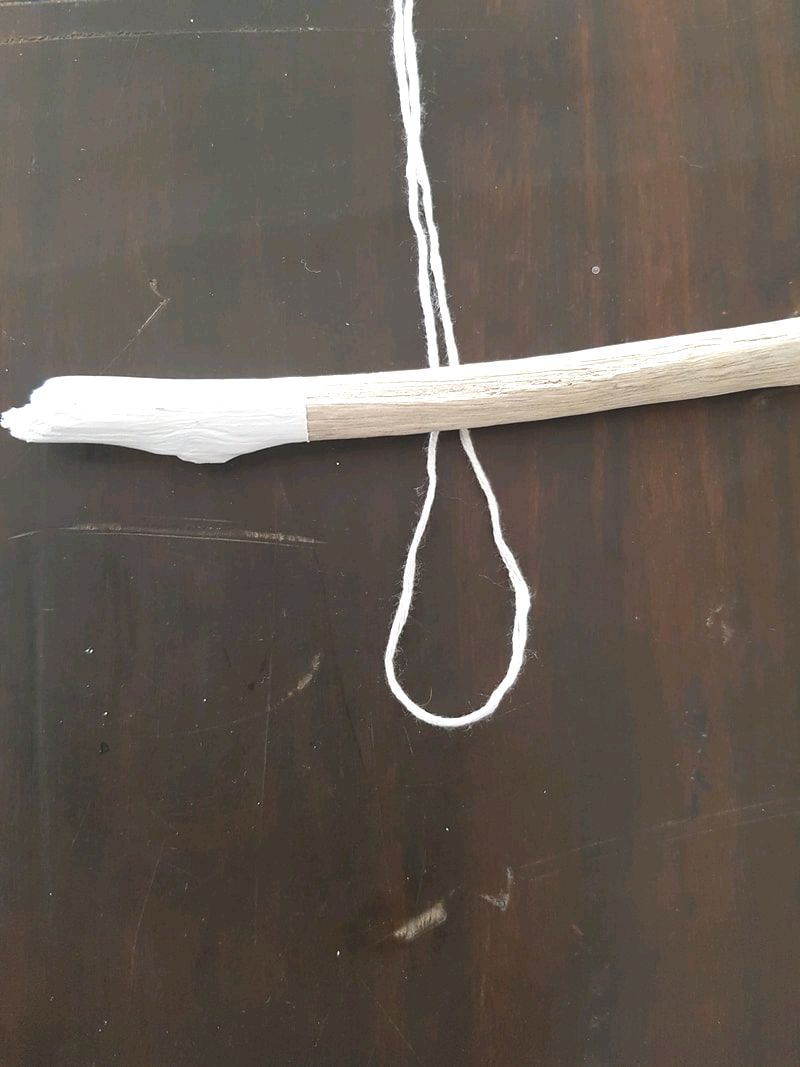
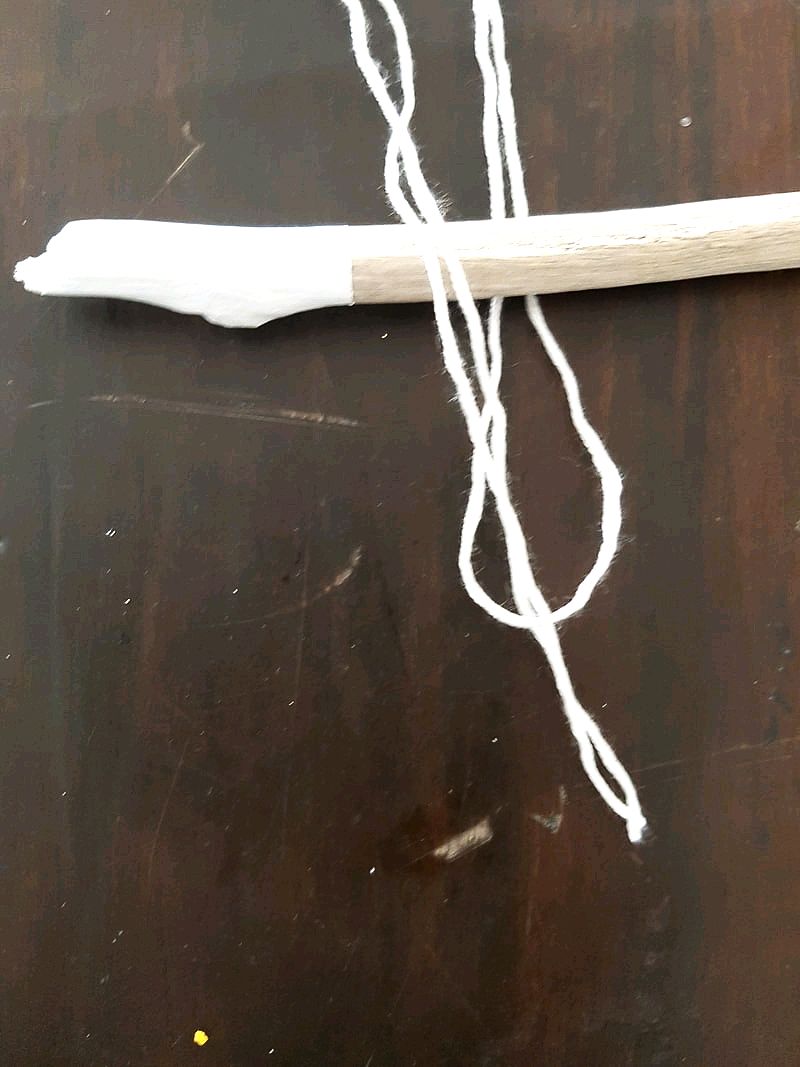
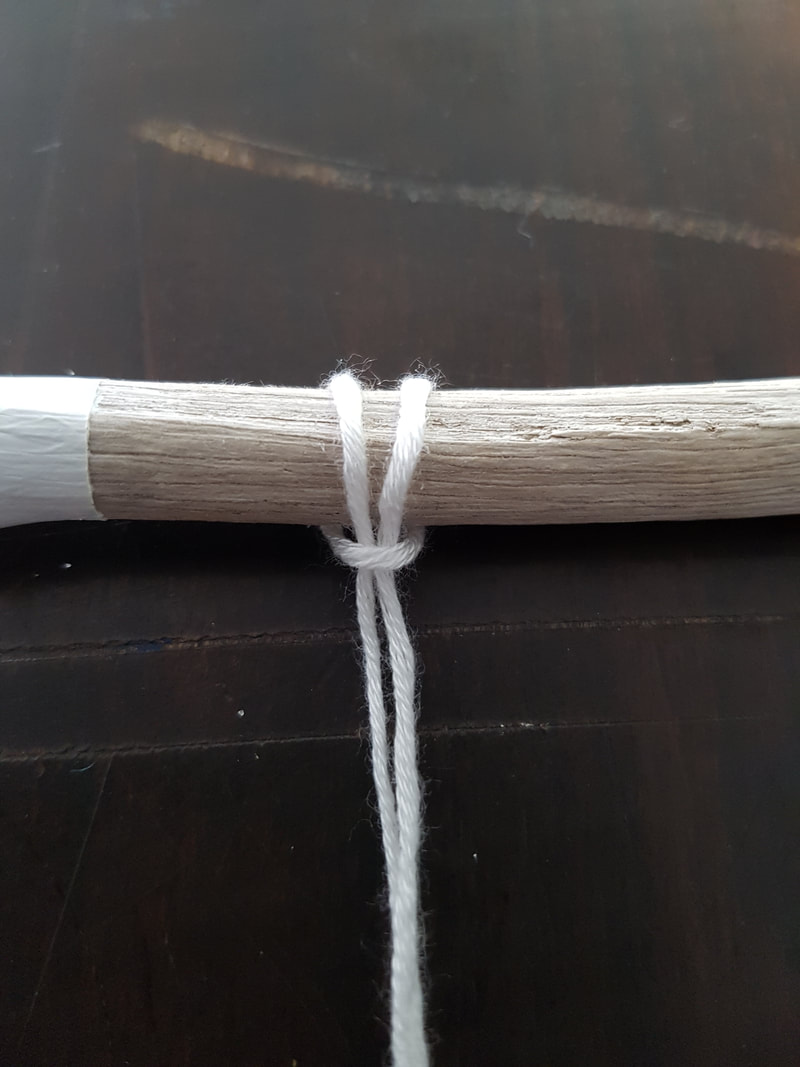
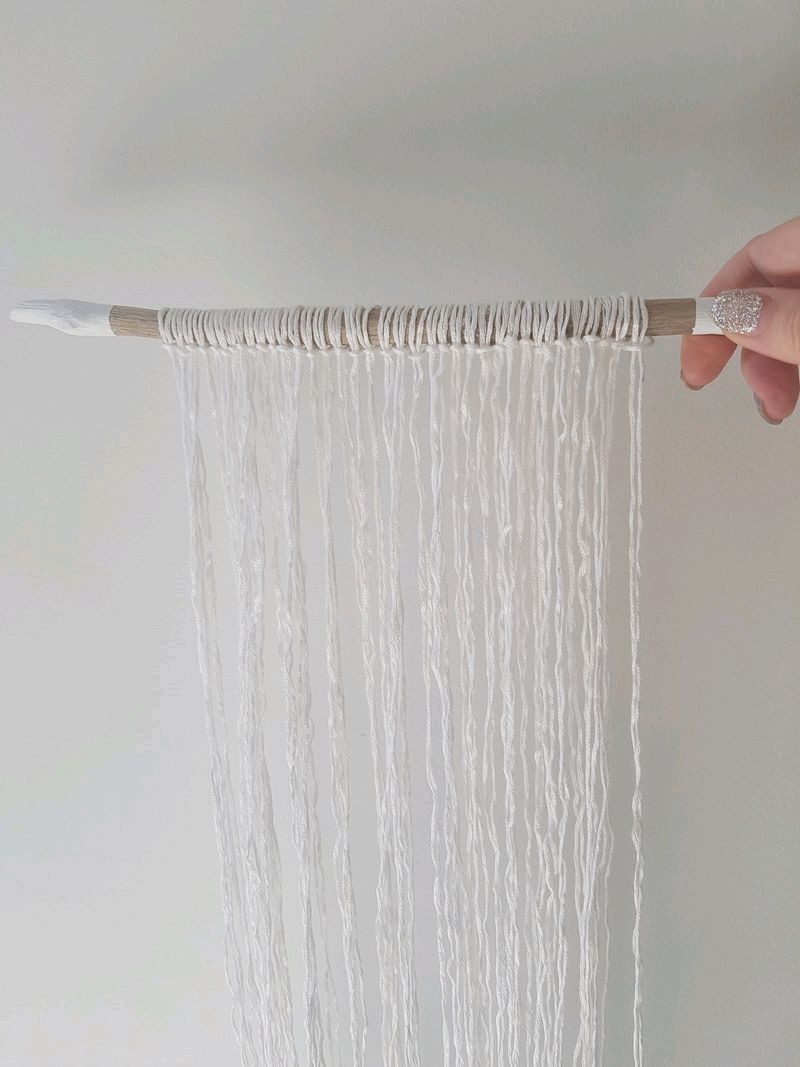
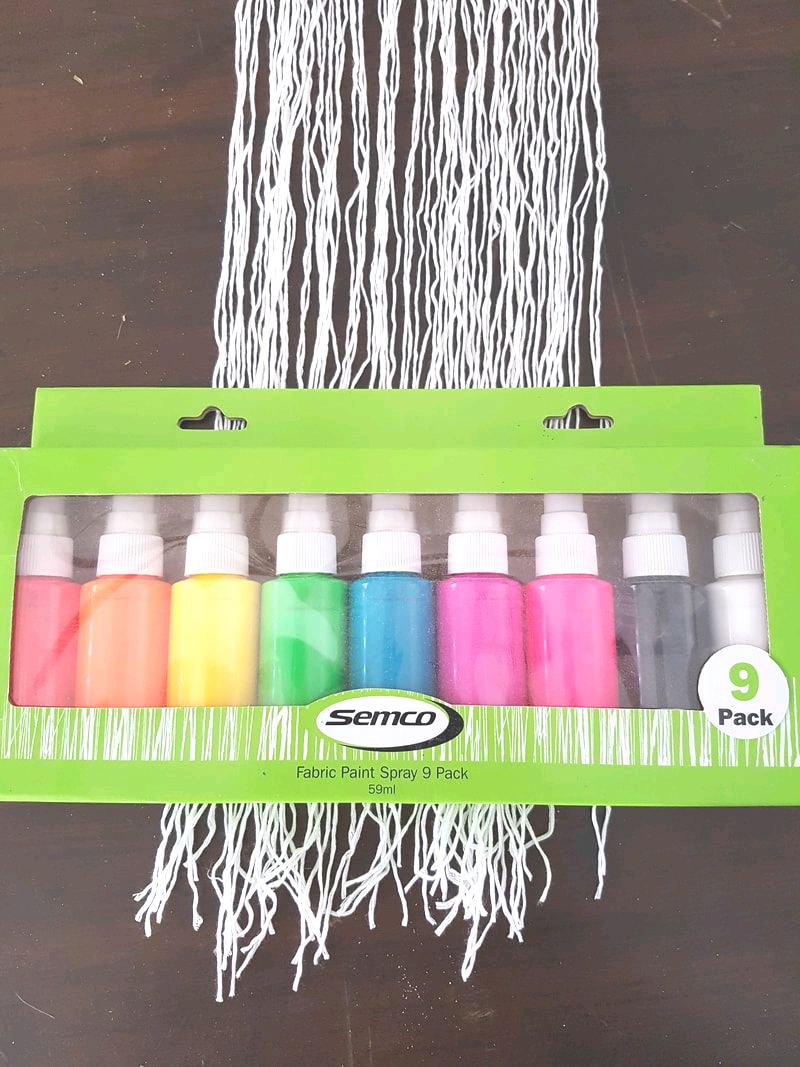
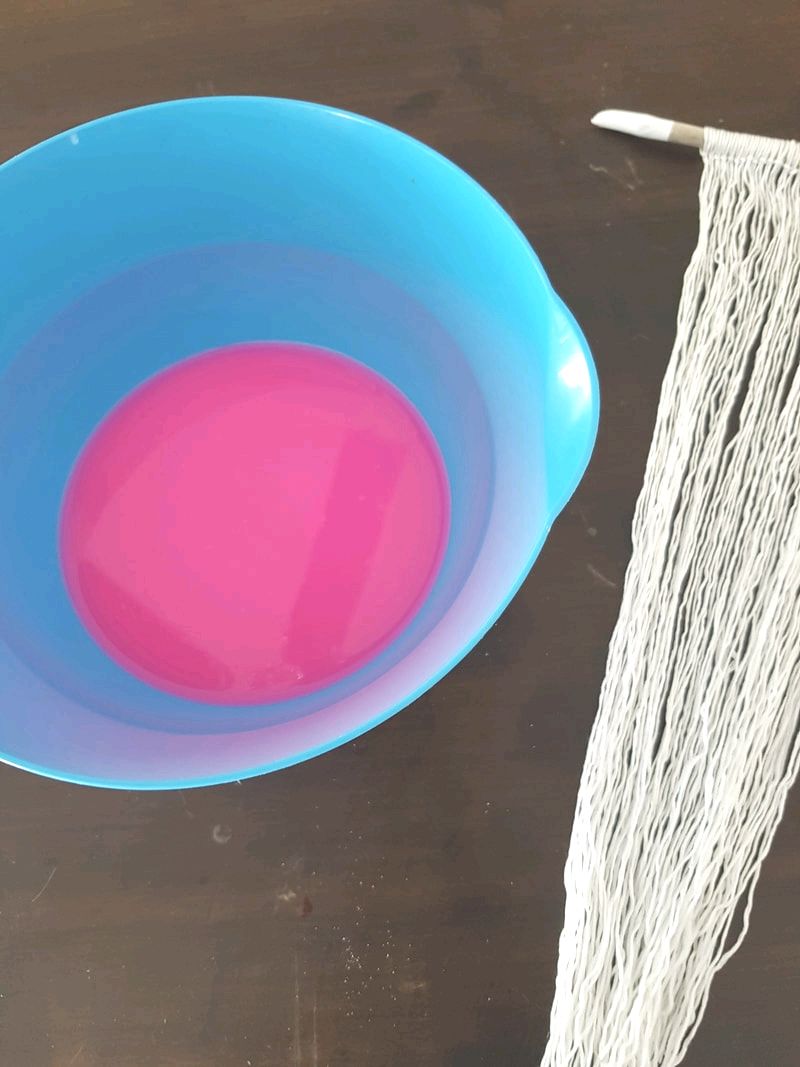
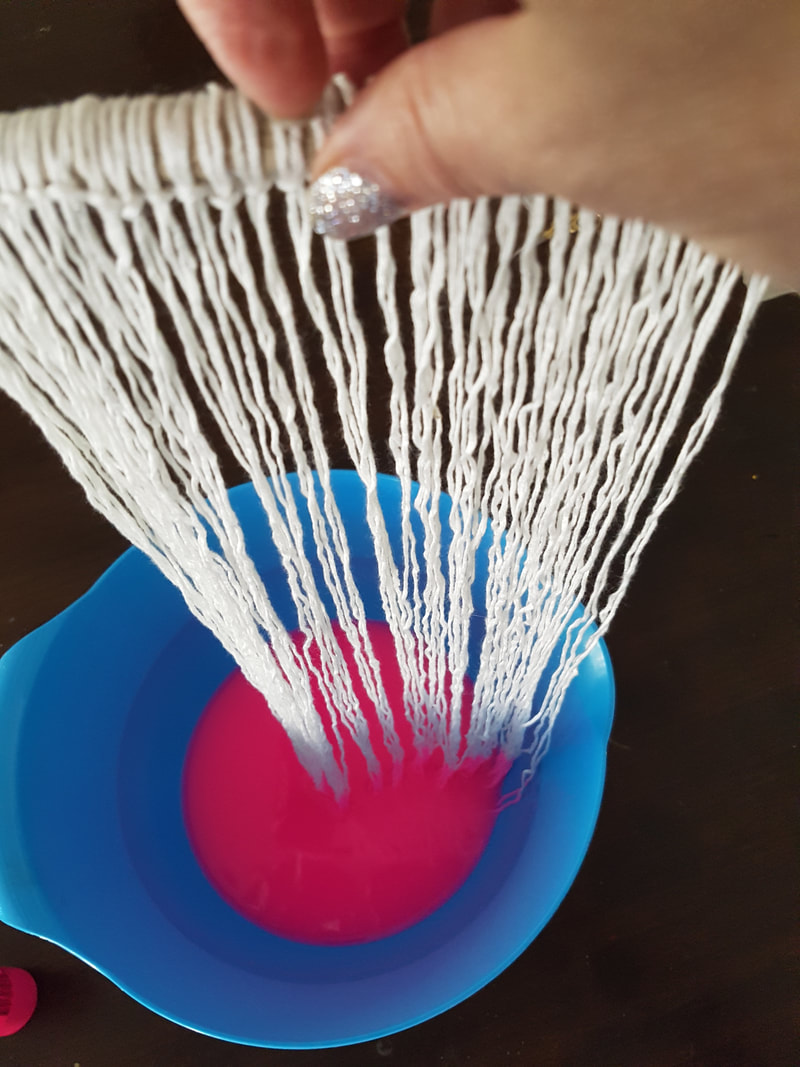
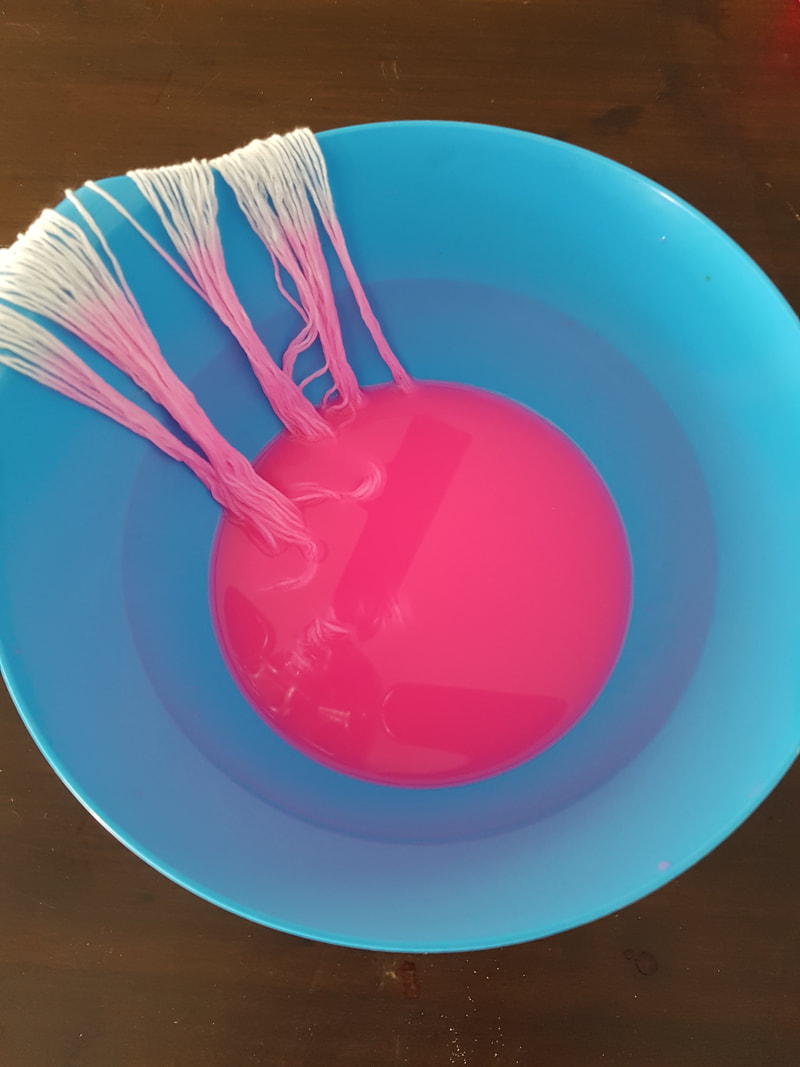
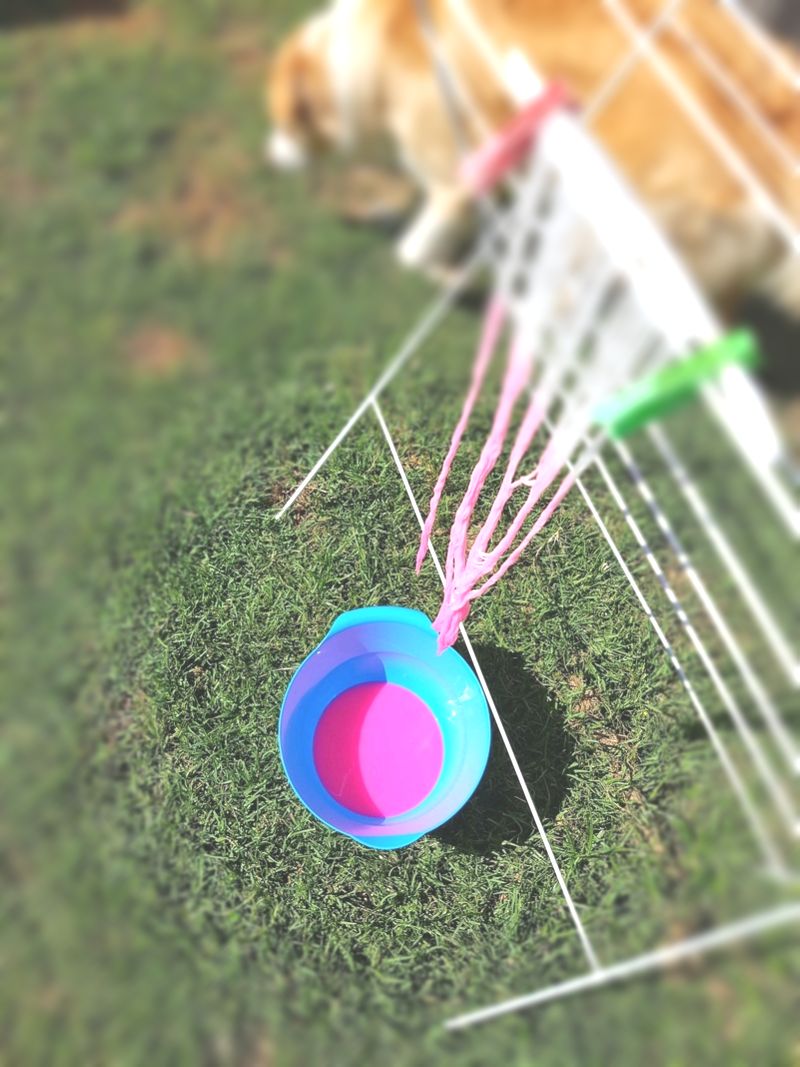
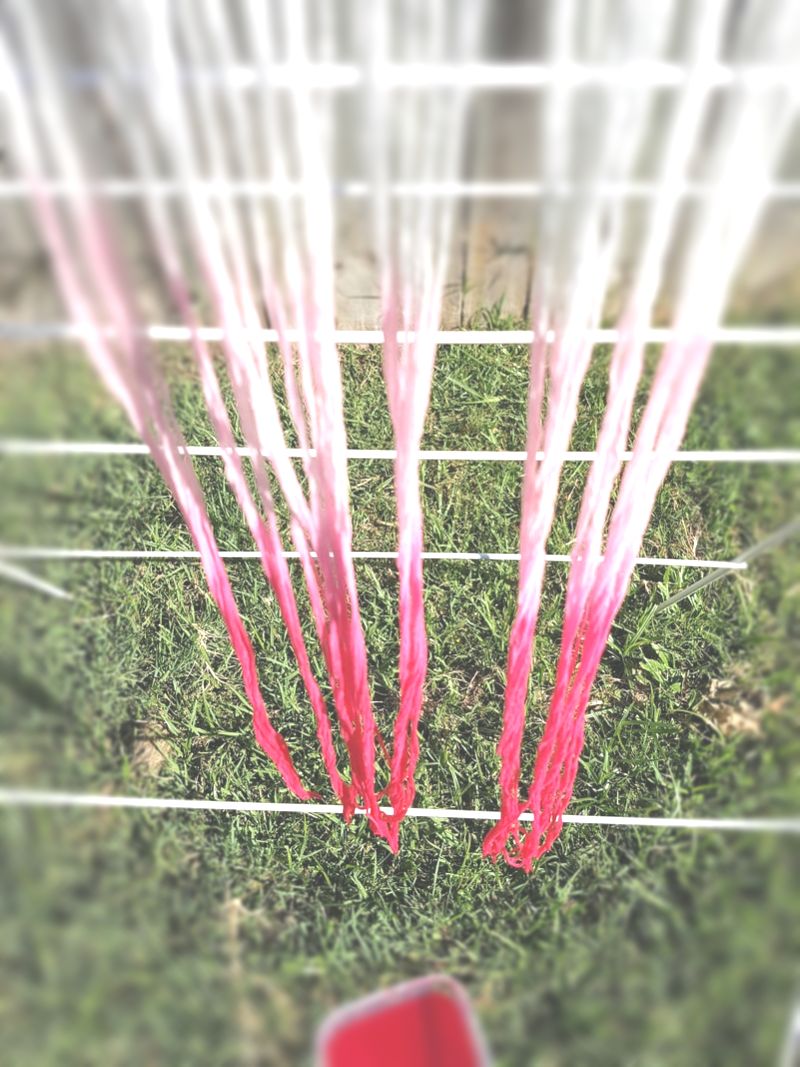
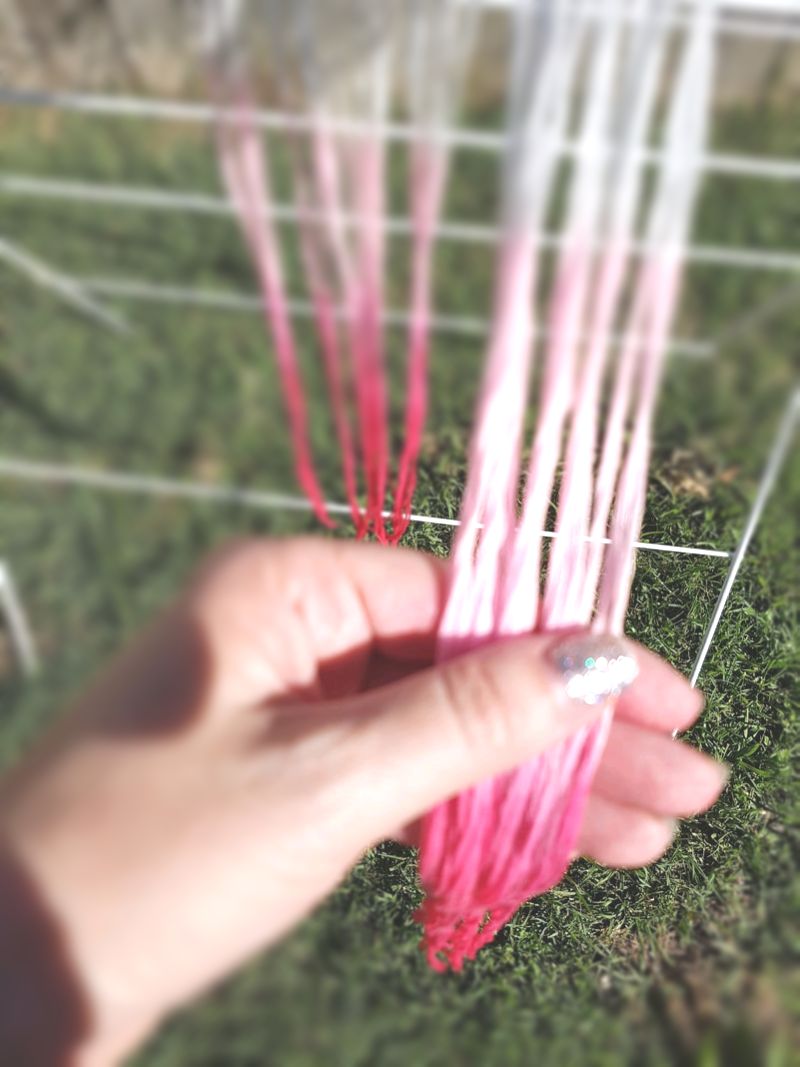
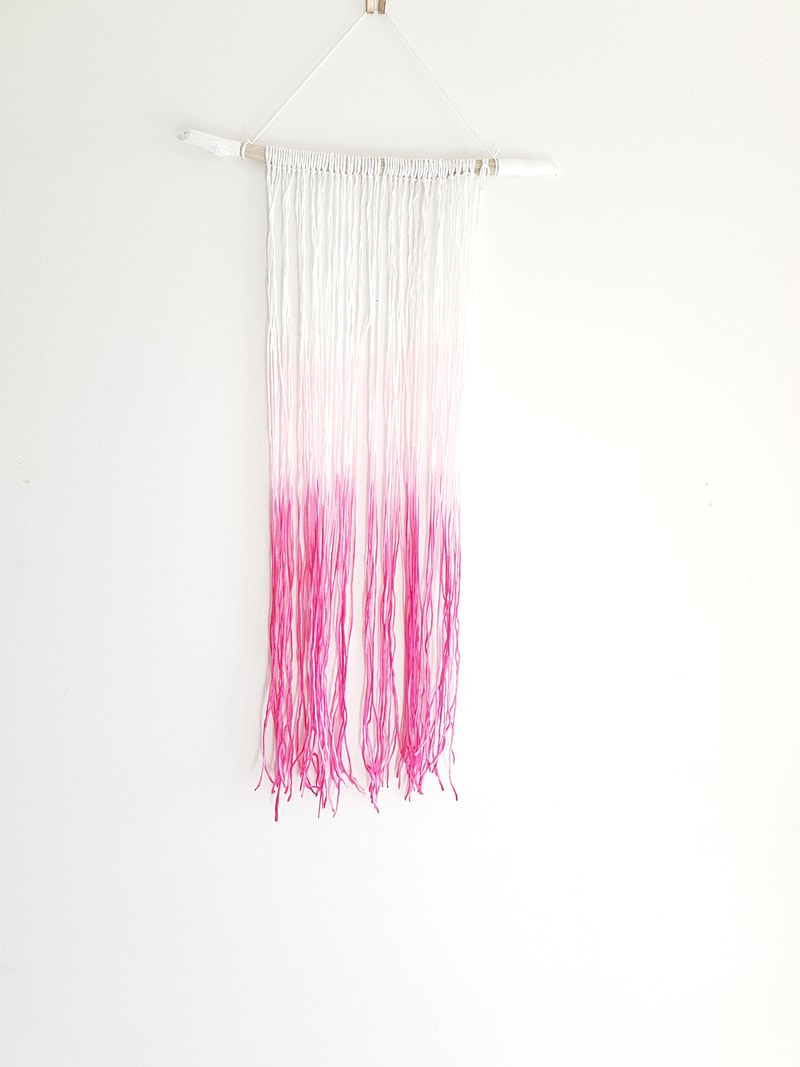
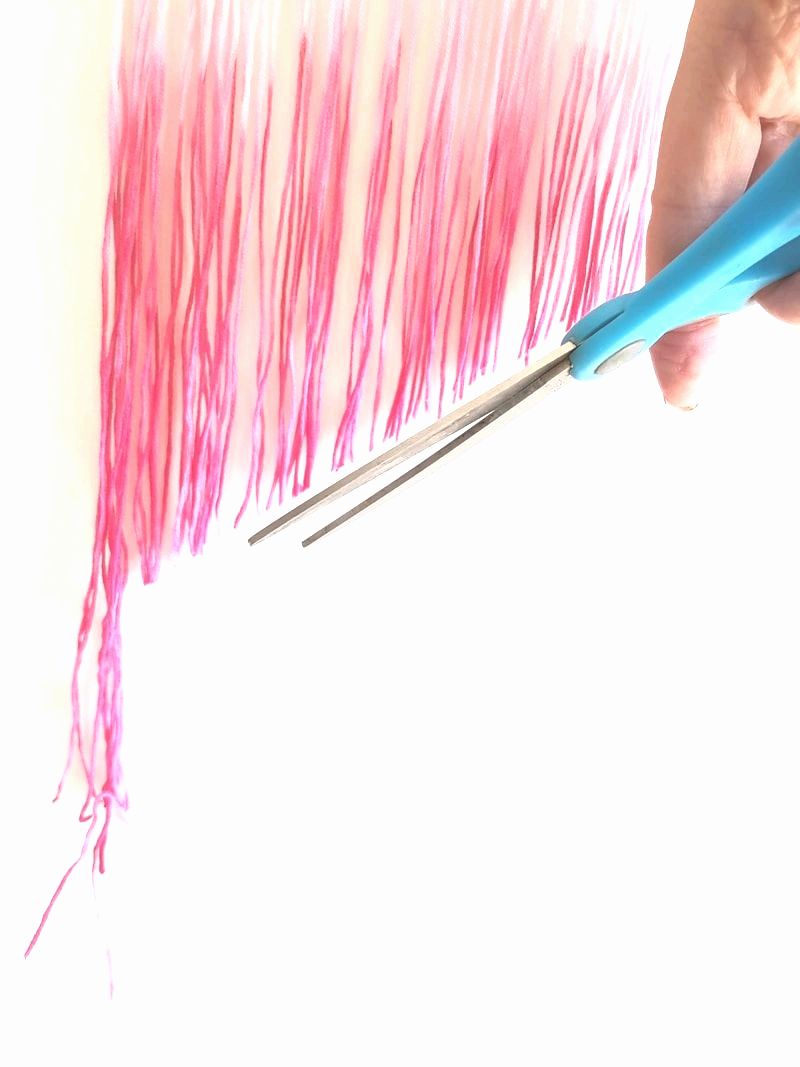
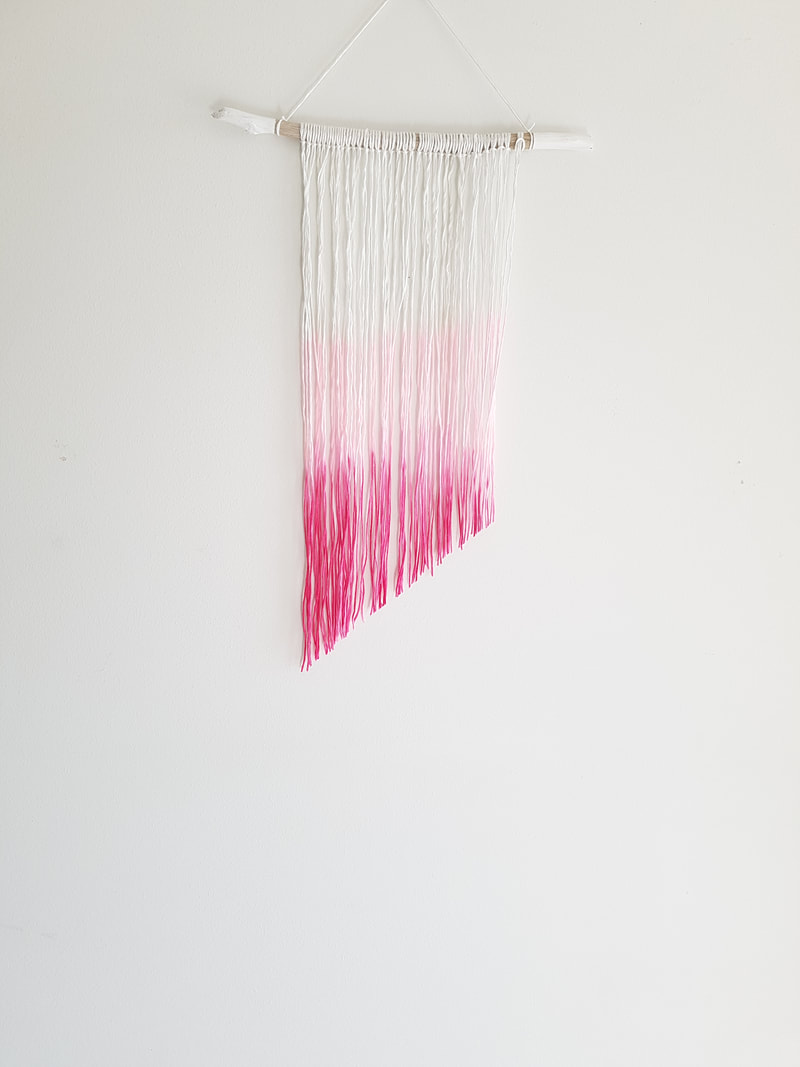
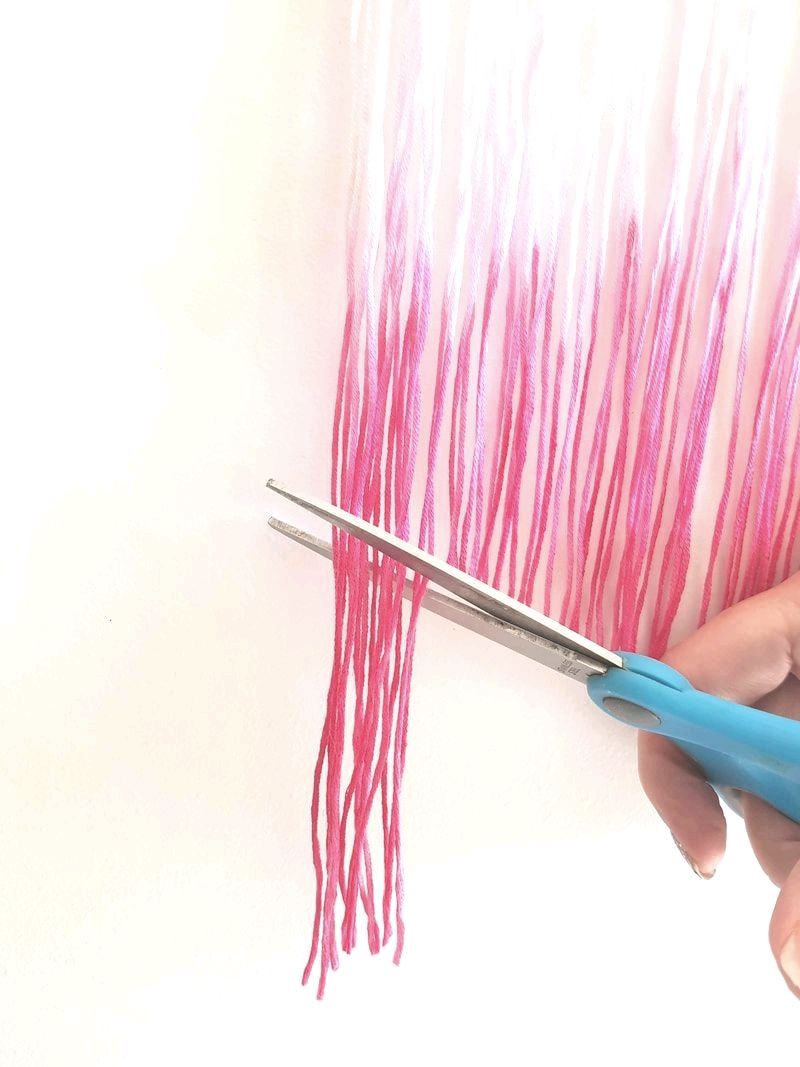
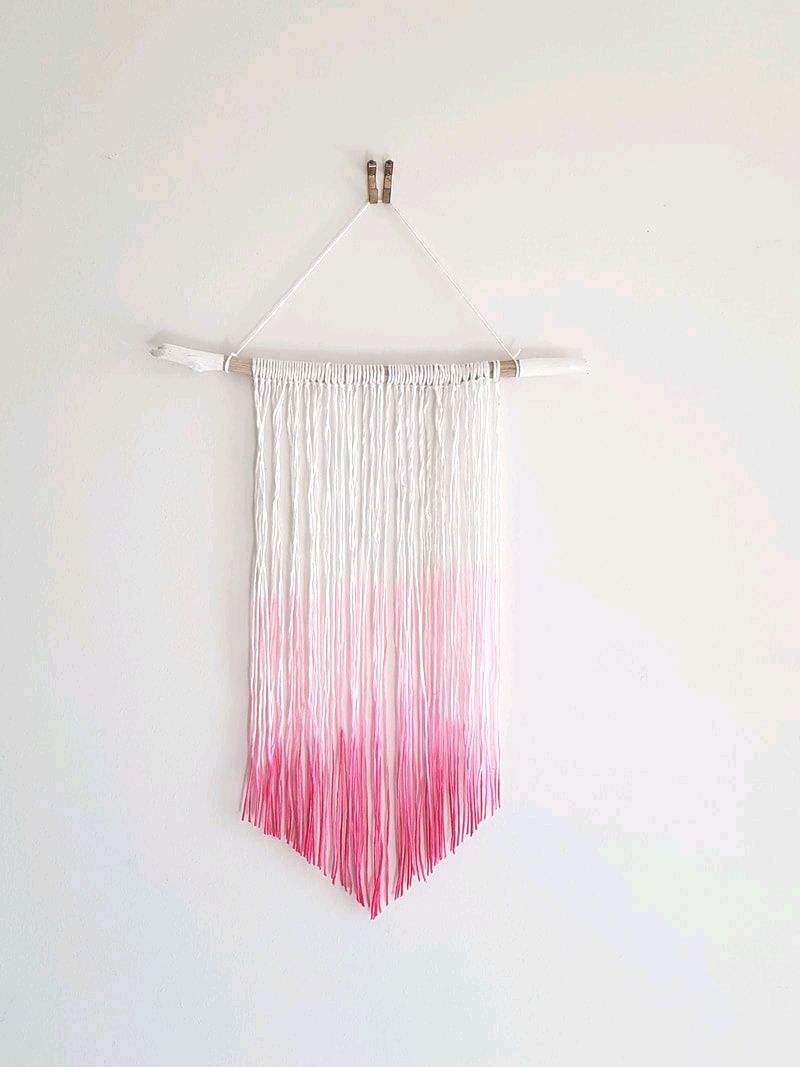
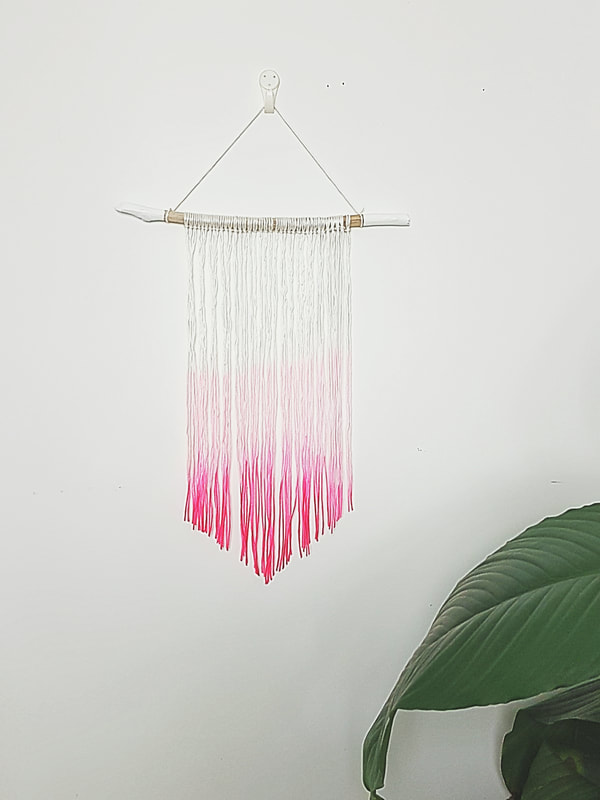
Wind a piece of masking around the stick about an inch or more in from each end. I've used a driftwood stick found on the beach. You can also use a dowel rod purchased from the hardware store or anything that's suitable for hanging wall art. Pore the white acrylic paint into an old paint dish. You can use any type of acrylic paint. I'm using a tube of student paint that I had on hand. Rest the stick on something and hold while you paint the ends outward from the masking tape. Wait for the first coat to dry then add a second coat of paint and allow that to dry. When drying set aside in a safe spot away from disturbances and so the ends aren't touching anything. Paint on your stuff is messy and hard to clean. Measure and cut 40 X 42 inch lengths of the wool or cotton fiber. You can use any ply that you like. I've used a very thin ply and natural fiber. Using natural fiber will allow the fabric paint or dye to soak in. If you are using a similar ply as me you'll need 40 lengths. If your wool is thicker you'll need less lengths. Once all lengths are cut set aside so we can get the stick ready. Now the paint has dried on your stick carefully remove the masking tape to reveal a clean crisp line. And an awesome looking stick with painted ends. Whoo! Now take one length and fold it in half. Then pull it under the stick as shown below. Now pick up both end bits together, then going over the top of the stick, thread them in through the loop. Pull loop tight up against the stick so it looks similar to my example below. Continue looping all lengths in the same way next to each other along the stick. and it will end up looking similar to mine below. Designer Tip: you can add two or more strands together for each loop. This will make a thicker looking work. For wintry months extra strands would add a cozy look and feel. Next we will dye the bottom of the wall hanging. This step is optional as you may choose to leave the wall hanging in it's natural state. If so skip down to the steps where I show you how to trim the ends on the diagonal. I'm using hot pink Semco Fabric Paint but you can use any dye including acrylic paint or food dye. I just happened to have this on hand as my mum gave it to me for my birthday and I figured this was a great purpose for it. Thanks mum! Fill bucket with water, add some paint then mix with a spoon until smooth and blended. Gently dip the strands into the mixture and allow to soak for 5 minutes. Gently hold stick and lift strands up and out of the paint mixture and allow to dry. I pegged mine to a clothes airier in the beautiful warm sun. When that layer dries. Make a second batch of water/paint that is a stronger than the first mix. Re-dip the strands in leaving out some of the existing dyed lengths at the top. About 4-6 inches is good. Doing this will create color gradation for the gorgeous dip dye effect. Pull up and out of the mixture and hang your drying rack. Now get a spay bottle filled with fresh clean water. You need to to this step before this second color dries. Gently spray the area where the new darker color meets the older lighter color. Select 5 or 6 strands and use your finger and thumb to gently blend the new up into the light. This helps creates the nice dip dye look. Repeat until all strands have been blended. Allow the second colour to dry then hang inside on a hook so you can comfortably trim away the strands. Designer Tip: tip leftover dye mixture into a sealed jar so you can reuse for other projects. Using sharp scissors trim one side on a downward diagonal. Trim a few strands at a time. Cut slowly and carefully. Now find the center and begin cutting strands upward diagonally from that center point. Trim any stray strands to tidy up the diagonal lines. This is the final step. Now you can hang your masterpiece in a spot where everyone will admire your handy diy wall art and your home will feel extra loved. I hope you've enjoyed this fun and very simple diy project. Please share on social media and spread the love into the world xo
0 Comments
|
Hello
Archives
August 2017
Categories
All
Sponsored Links |

 RSS Feed


